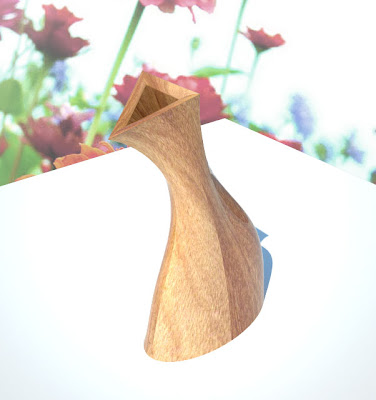
We have to design a vase for our 1st tutorial exercise. This vase is going to be 3d printed or laser cut on Wednesday 090729. I think my vase is going to be 3d printed. Basically, the vase has a simple design which is lofted with basic geometry.
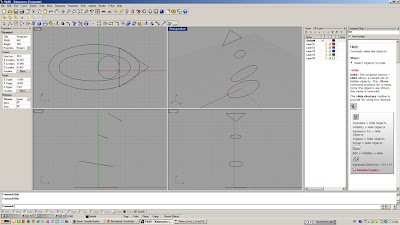
Step 1
- Draw 2 ellipses, 1 circle, 1 triangle within 50mm x 50mm grid extend
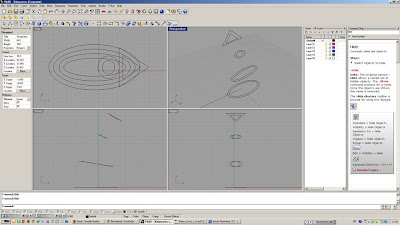
Step 2
- Offset each shapes by 1mm
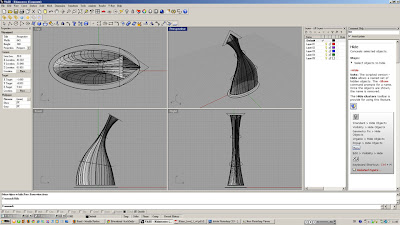
Step 3
- Select all inner shapes and loft them
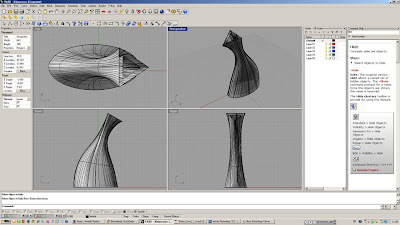
Step 4
- Select all outer shapes and loft them
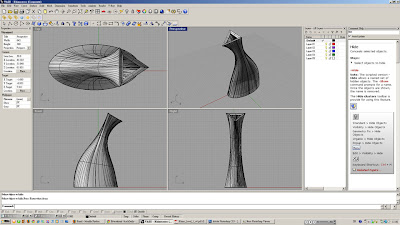
Step 5
- BlendSrf the top of the vase with default blend mode
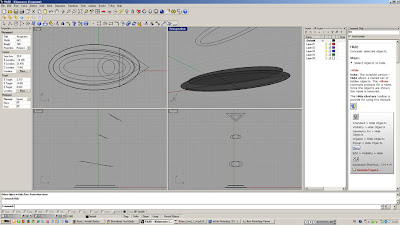
Step 6
- Draw a CutPlane prepare to create the capacity for the vase
- Trim the inner lofted surface
- Create surfaces for the base by using PlanarSrf
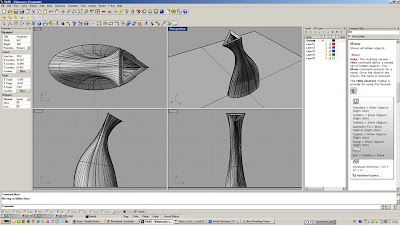
Step 7
- Draw a base plane with PlanarSrf
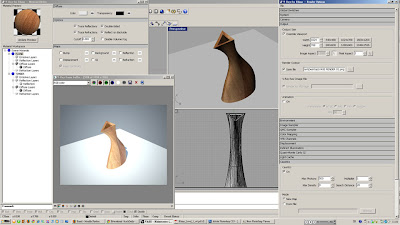
Step 8
- Apply timber material to the vase
- Apply light grey diffuse colour to the base plane
- Render the vase with V-ray with caustics On
Duration: 120 minutes

