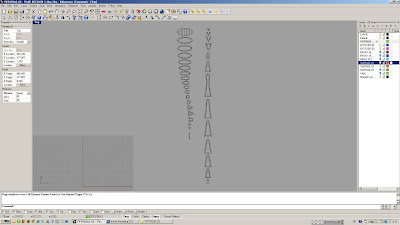
We are to create a matrix using the command "SECTION" in rhino. The sections will then translate into cad format for modification on joints. Then, print the cad drawing to pdf for 2d laser-cut.
Step 01:
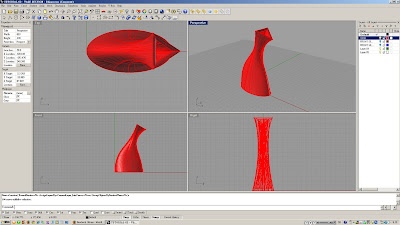
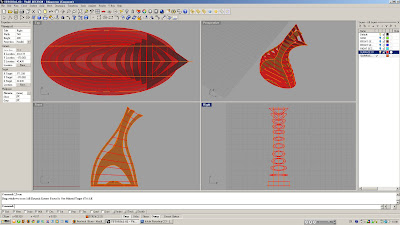
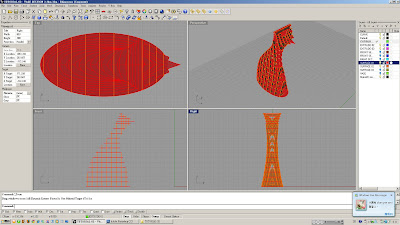
- Open vase model in rhino
Step 02:
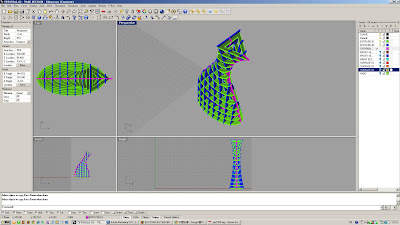
- From front view, create sections with an incremental angle from bottom to top

Step 03:
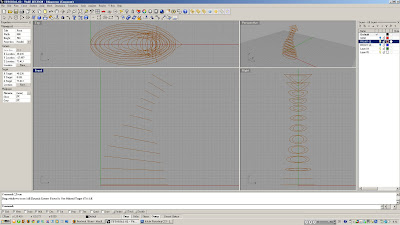
- Create vertical sections every 10mm
Step 04:
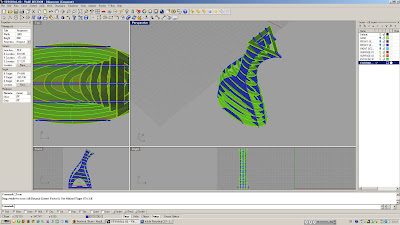
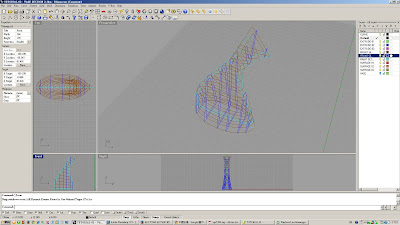
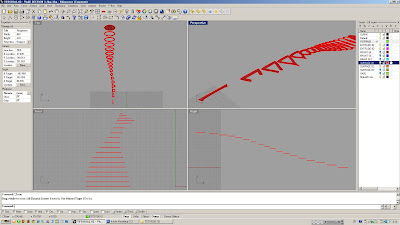
- The vase might not be able to hold itself esp. the neck
- Created more sections with 5mm increment
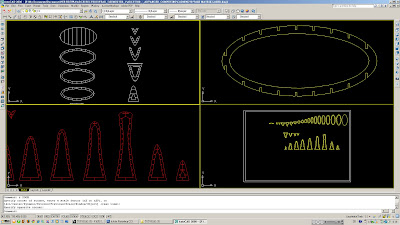
Step 05:
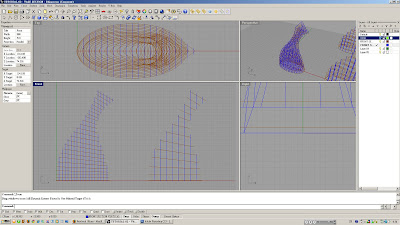
- Try creating vertical sections from right viewport
Step 06:
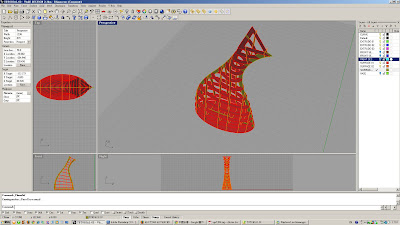
- Create surfaces from planar curve(s)
Step 07:
- Extrude surfaces by 0.5mm on both sides cap on
- Consider using 1mm strawboard, hence such extrusion
Step 08:
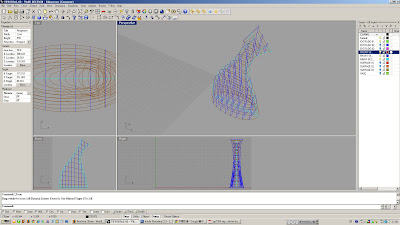
- Variation 01
Step 09:
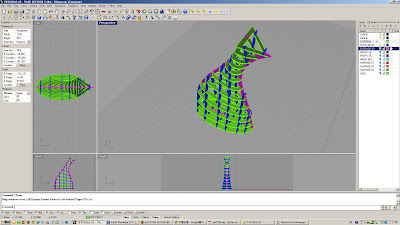
- Variation 02
Step 10:
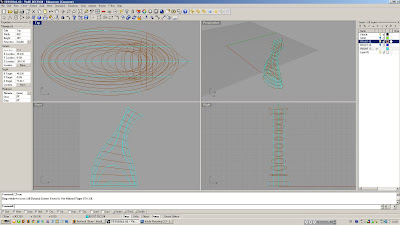
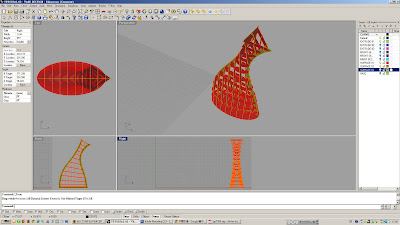
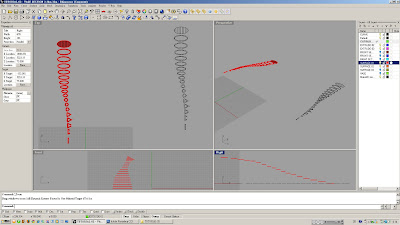
- Ultimately, orthogonal horizontal and vertical sections from front viewport was chosen
- Create more sections closer to the top to increase structural stability
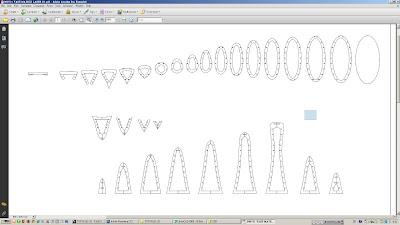
Step 11
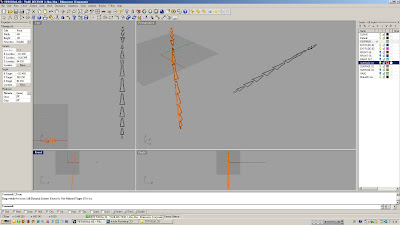
- I think using extrusion and boolean difference will mess up the model by having weird cutout, etc. Therefore, I only use surfaces and the command intersection to create intersection curves on surface for flatten
- After intersecting surfaces, hide vertical elements.
- Lay out horizontal sections with curves across the top view
Step 12:
- Use command "Make2D" and select all visible surfaces
- A set of lines will be created on z=0
Step 13:
- Do the same for the vertical sections
Step 14:
- Remove/hide unwanted elements, leaving only the lines for "export to cad format"
Step 15:
- Create joints (think of how the pieces should be joined together)
- I use clipping system for my vase, i.e. split the vertical sections into half such that they can clip onto the horizontal sections.
Step 16:
- Create PDF(s) for laser-cut
The appointment for laser is on Monday morning 11am. I hope everything goes well without major accident. More images after completion.


