Showing posts with label Vray. Show all posts

Monday, 21 September 2009

090921 Skyscraper 02 with Attractor Scripted Facade Structure

The previous post has mentioned on the finding of the attractor script. This post is to illustrate how the attractor parameters being used to executing on to a simple boxy building. I hope the following print screens can help you in following my process. This building is a prototype exploring the ways in treating the fenestration.


Testing the RhinoScript see if it's working on this template


Draw a rectangle


Extrude to a desirable height


Rebuild the model to give more quad surfaces


Thinking of ways to explode the rebuilt-surface
(extract points, PlanarSrf, extract mesh, etc.)


Finally found a way, ExtractWireframe!


Wireframe structure of the rebuilt-surfaces


Splitting the surface with the wireframe structure


Creating some random points on the facade


Run the script


Computing the scale of element in progress


Final result with threshold <1> and scale factor <1>
This formed the fenestration of the building
Now have to cutout the holes.


Overlay the fenestrations with the original surfaces


Just in case they don't overlay on the same plane,
I move the fenestrations outwardly,
then do "Project" on surface to ensure the curves stamp on surface for "split"


Splitting the facade with the fenestration curves
Cleaning up the model


Extrude the surfaces to give a thickness


Adding solid frame to join all extruded surfaces together


Finally I do a 800 x 600 with V-ray
and this is the result

Time elapse: 4 hours (Modeling, Rendering, Blogging)

Saturday, 22 August 2009

090822 Skyscraper 01 STL Preparation

Spent quite a bit of time in "CheckMesh" and making sure that the STL file is workable for 3D print.

The Tower #01 is marked at a dimension of (~45-60)L x (~45-60)W x (~100)H
The total volume is marked at 74509.6951 cubic mm = 4.54686 cubic inch.
I assume the price tag for Tower #01 is at AUD45 since AUD10 = 1 cubic inch.


090822 Skyscraper 01

Today I made a tower model based on the pattern of square frame and sine curve.

The tower's mesh surface is offset according to a sine curve and the mesh panel is made of rhombus component.

Here's the result:


Hopefully I can make a 3d print at the size of ~150mm x 100mm by Wednesday.

090822 ParaCloud GEM x Rhino

Have an idea in making a cool pavilion using paracloud and rhino.


Friday, 21 August 2009

090821 Tutorial 5

Tutorial 5 - we learned how to use very very very very very uber basic ArchiCAD (BIM).
The model that we were required to build was Corb's Domino ...


Step 01:
Build Domino in ArchiCAD 12


Step 02:
Exported the model in *.3dm and rendered in Rhino with V-ray then pshop post-editing.


I find that, exporting BIM model to *.3dm will cause the edge to be slightly rounded. The faceted mesh becomes obvious as you can see in the render (become less obvious after fudging the image in pshop). Perhaps *.obj is better?

Hopefully the next tutorial will learn a little bit of rendering technique in ArchiCAD, will that be as good as V-ray? Let's see ......

090821 Tutorial 3

Suddenly feel like putting up all the tutorial exercises ... bare with me :P

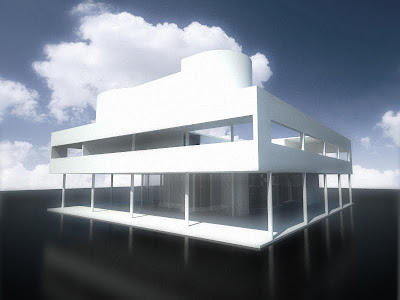
Tute 3: 3d-model for Corb's Villa Savoye

Step 01:
Build the whole model in Rhino


Step 02:
Render with V-ray + Photoshop post-editing

Tuesday, 28 July 2009

090728 Vase Transformer


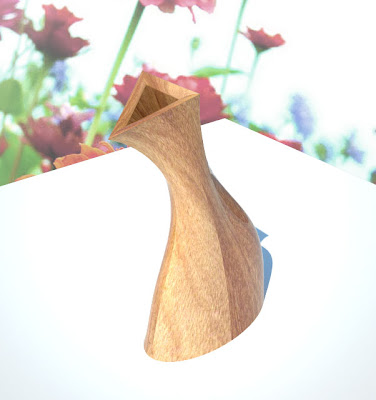
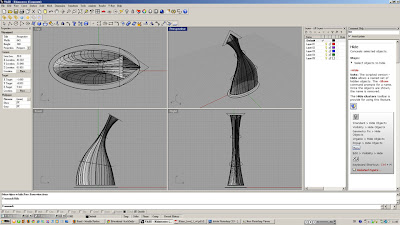
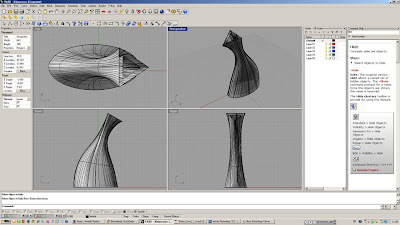
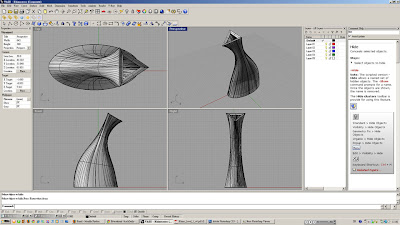
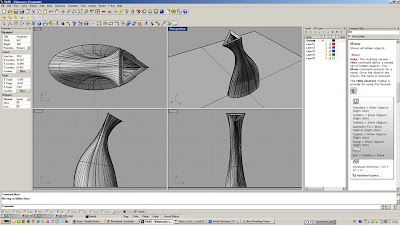
We have to design a vase for our 1st tutorial exercise. This vase is going to be 3d printed or laser cut on Wednesday 090729. I think my vase is going to be 3d printed. Basically, the vase has a simple design which is lofted with basic geometry.


Step 1
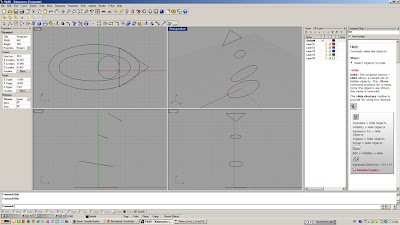
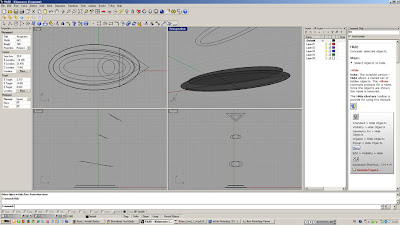
- Draw 2 ellipses, 1 circle, 1 triangle within 50mm x 50mm grid extend


Step 2
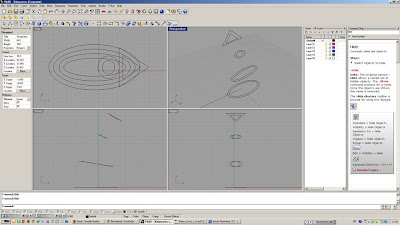
- Offset each shapes by 1mm


Step 3
- Select all inner shapes and loft them


Step 4
- Select all outer shapes and loft them


Step 5
- BlendSrf the top of the vase with default blend mode


Step 6
- Draw a CutPlane prepare to create the capacity for the vase
- Trim the inner lofted surface
- Create surfaces for the base by using PlanarSrf


Step 7
- Draw a base plane with PlanarSrf


Step 8
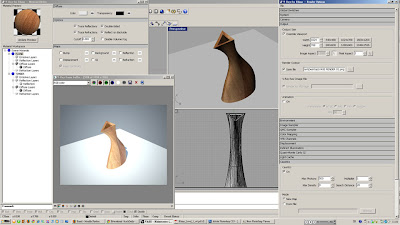
- Apply timber material to the vase
- Apply light grey diffuse colour to the base plane
- Render the vase with V-ray with caustics On

Duration: 120 minutes

090722 Silver Duck

We had our 1st AdComp tute today. I've gone through the tutorials under Help menu in Rhino. This rubber duck was created with the steps by steps instruction from Tutorial 3.

I have applied a Silver Shinny material on the duck and rendered it out with V-ray just for fun.

Duration: 120 minutes